Some deliveries may take a little longer than usual due to regional shipping conditions.

DOWNLOAD THE APP


Customer Services
Copyright © 2025 Desertcart Holdings Limited
DOWNLOAD THE APP


🎵 Silence the noise, amplify your space — acoustics redefined.
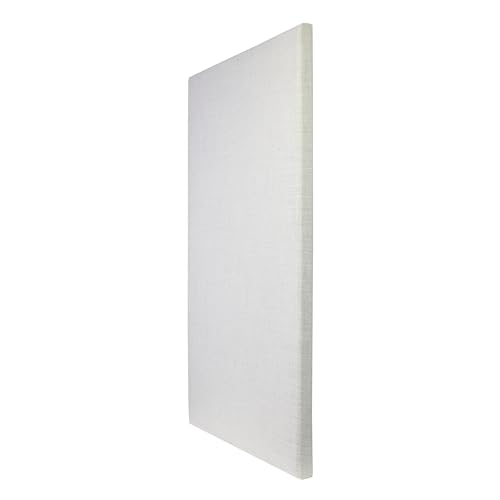
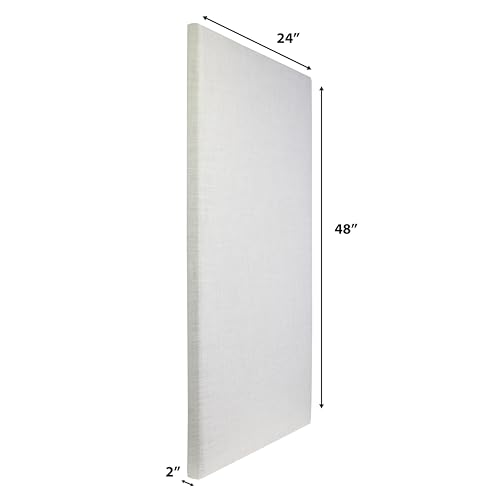
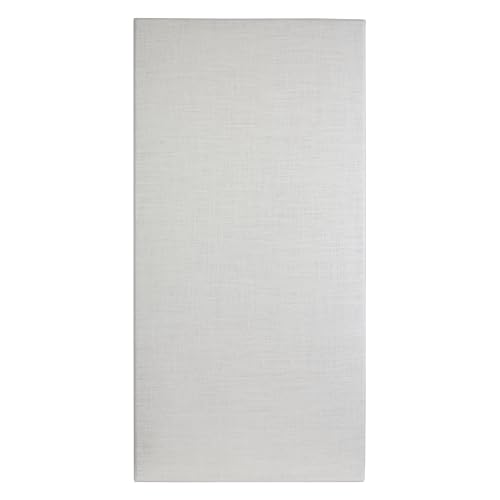
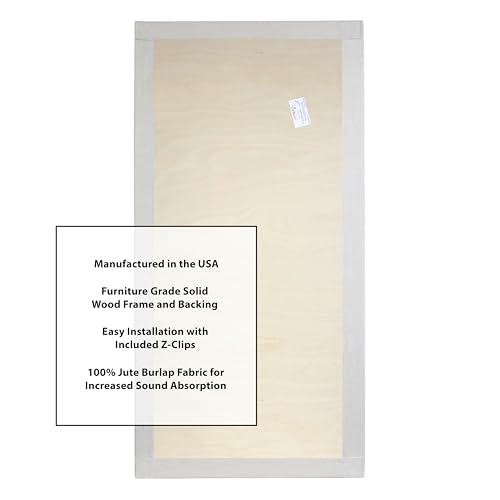
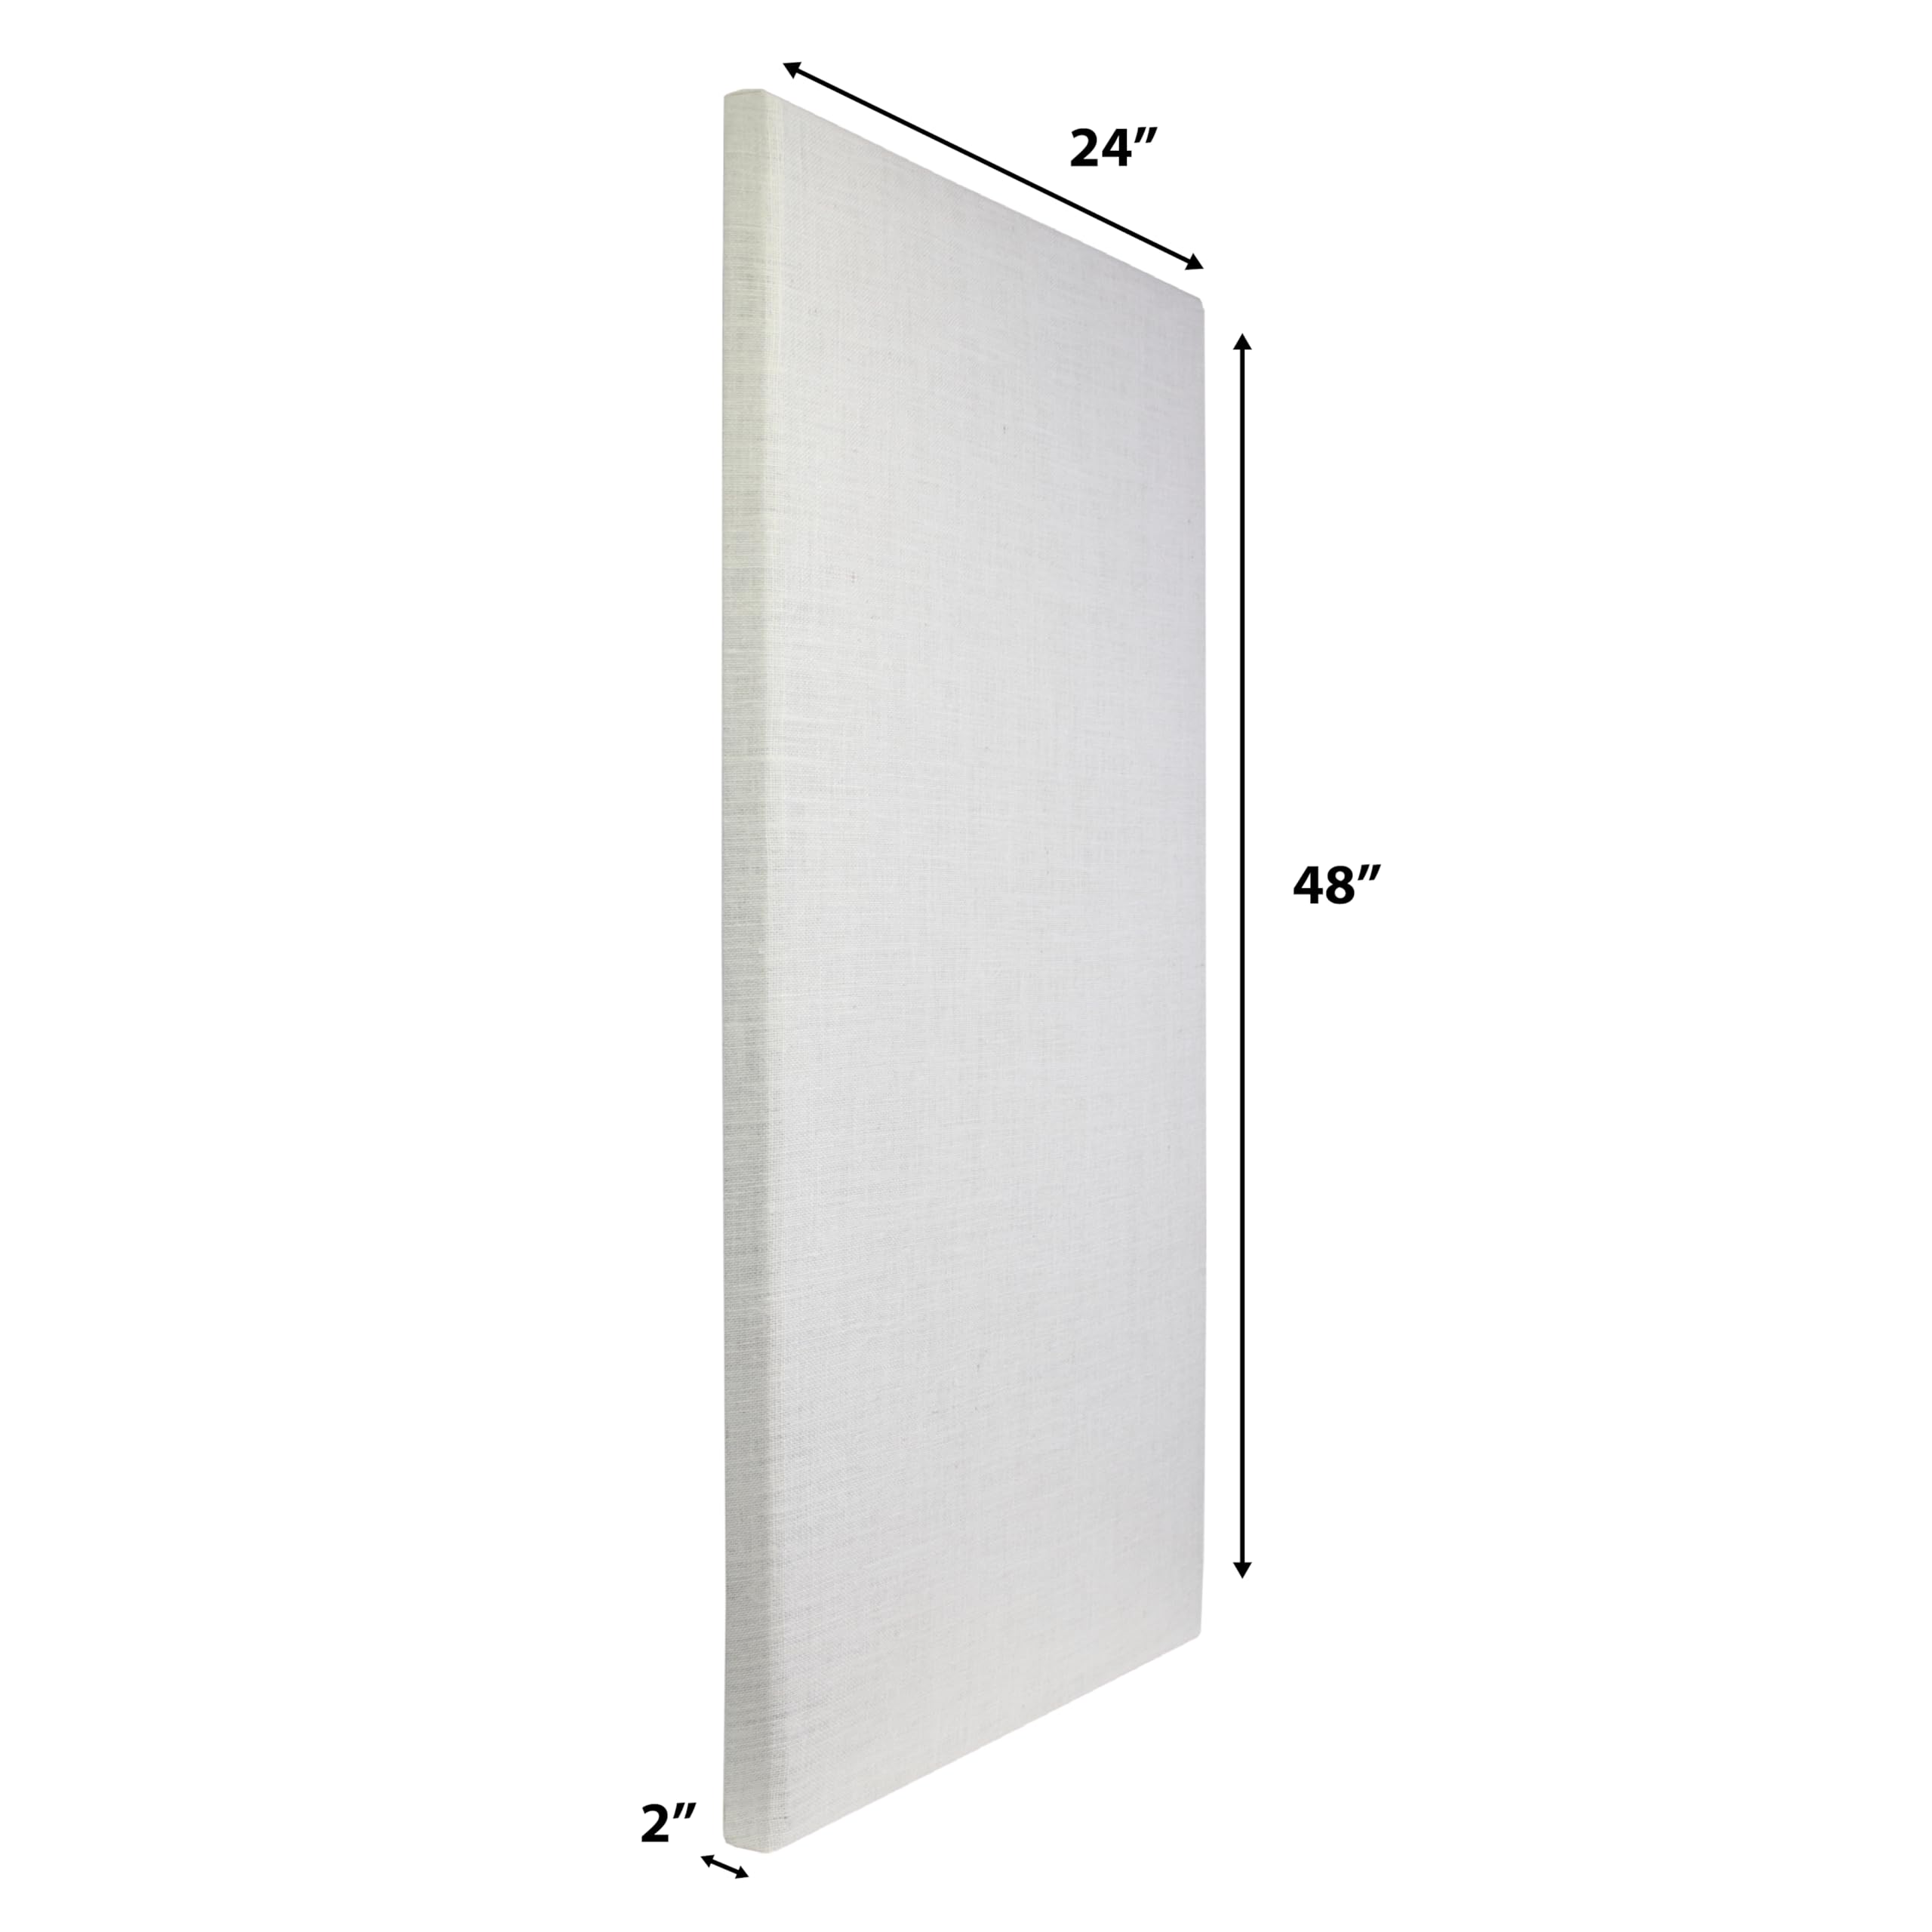
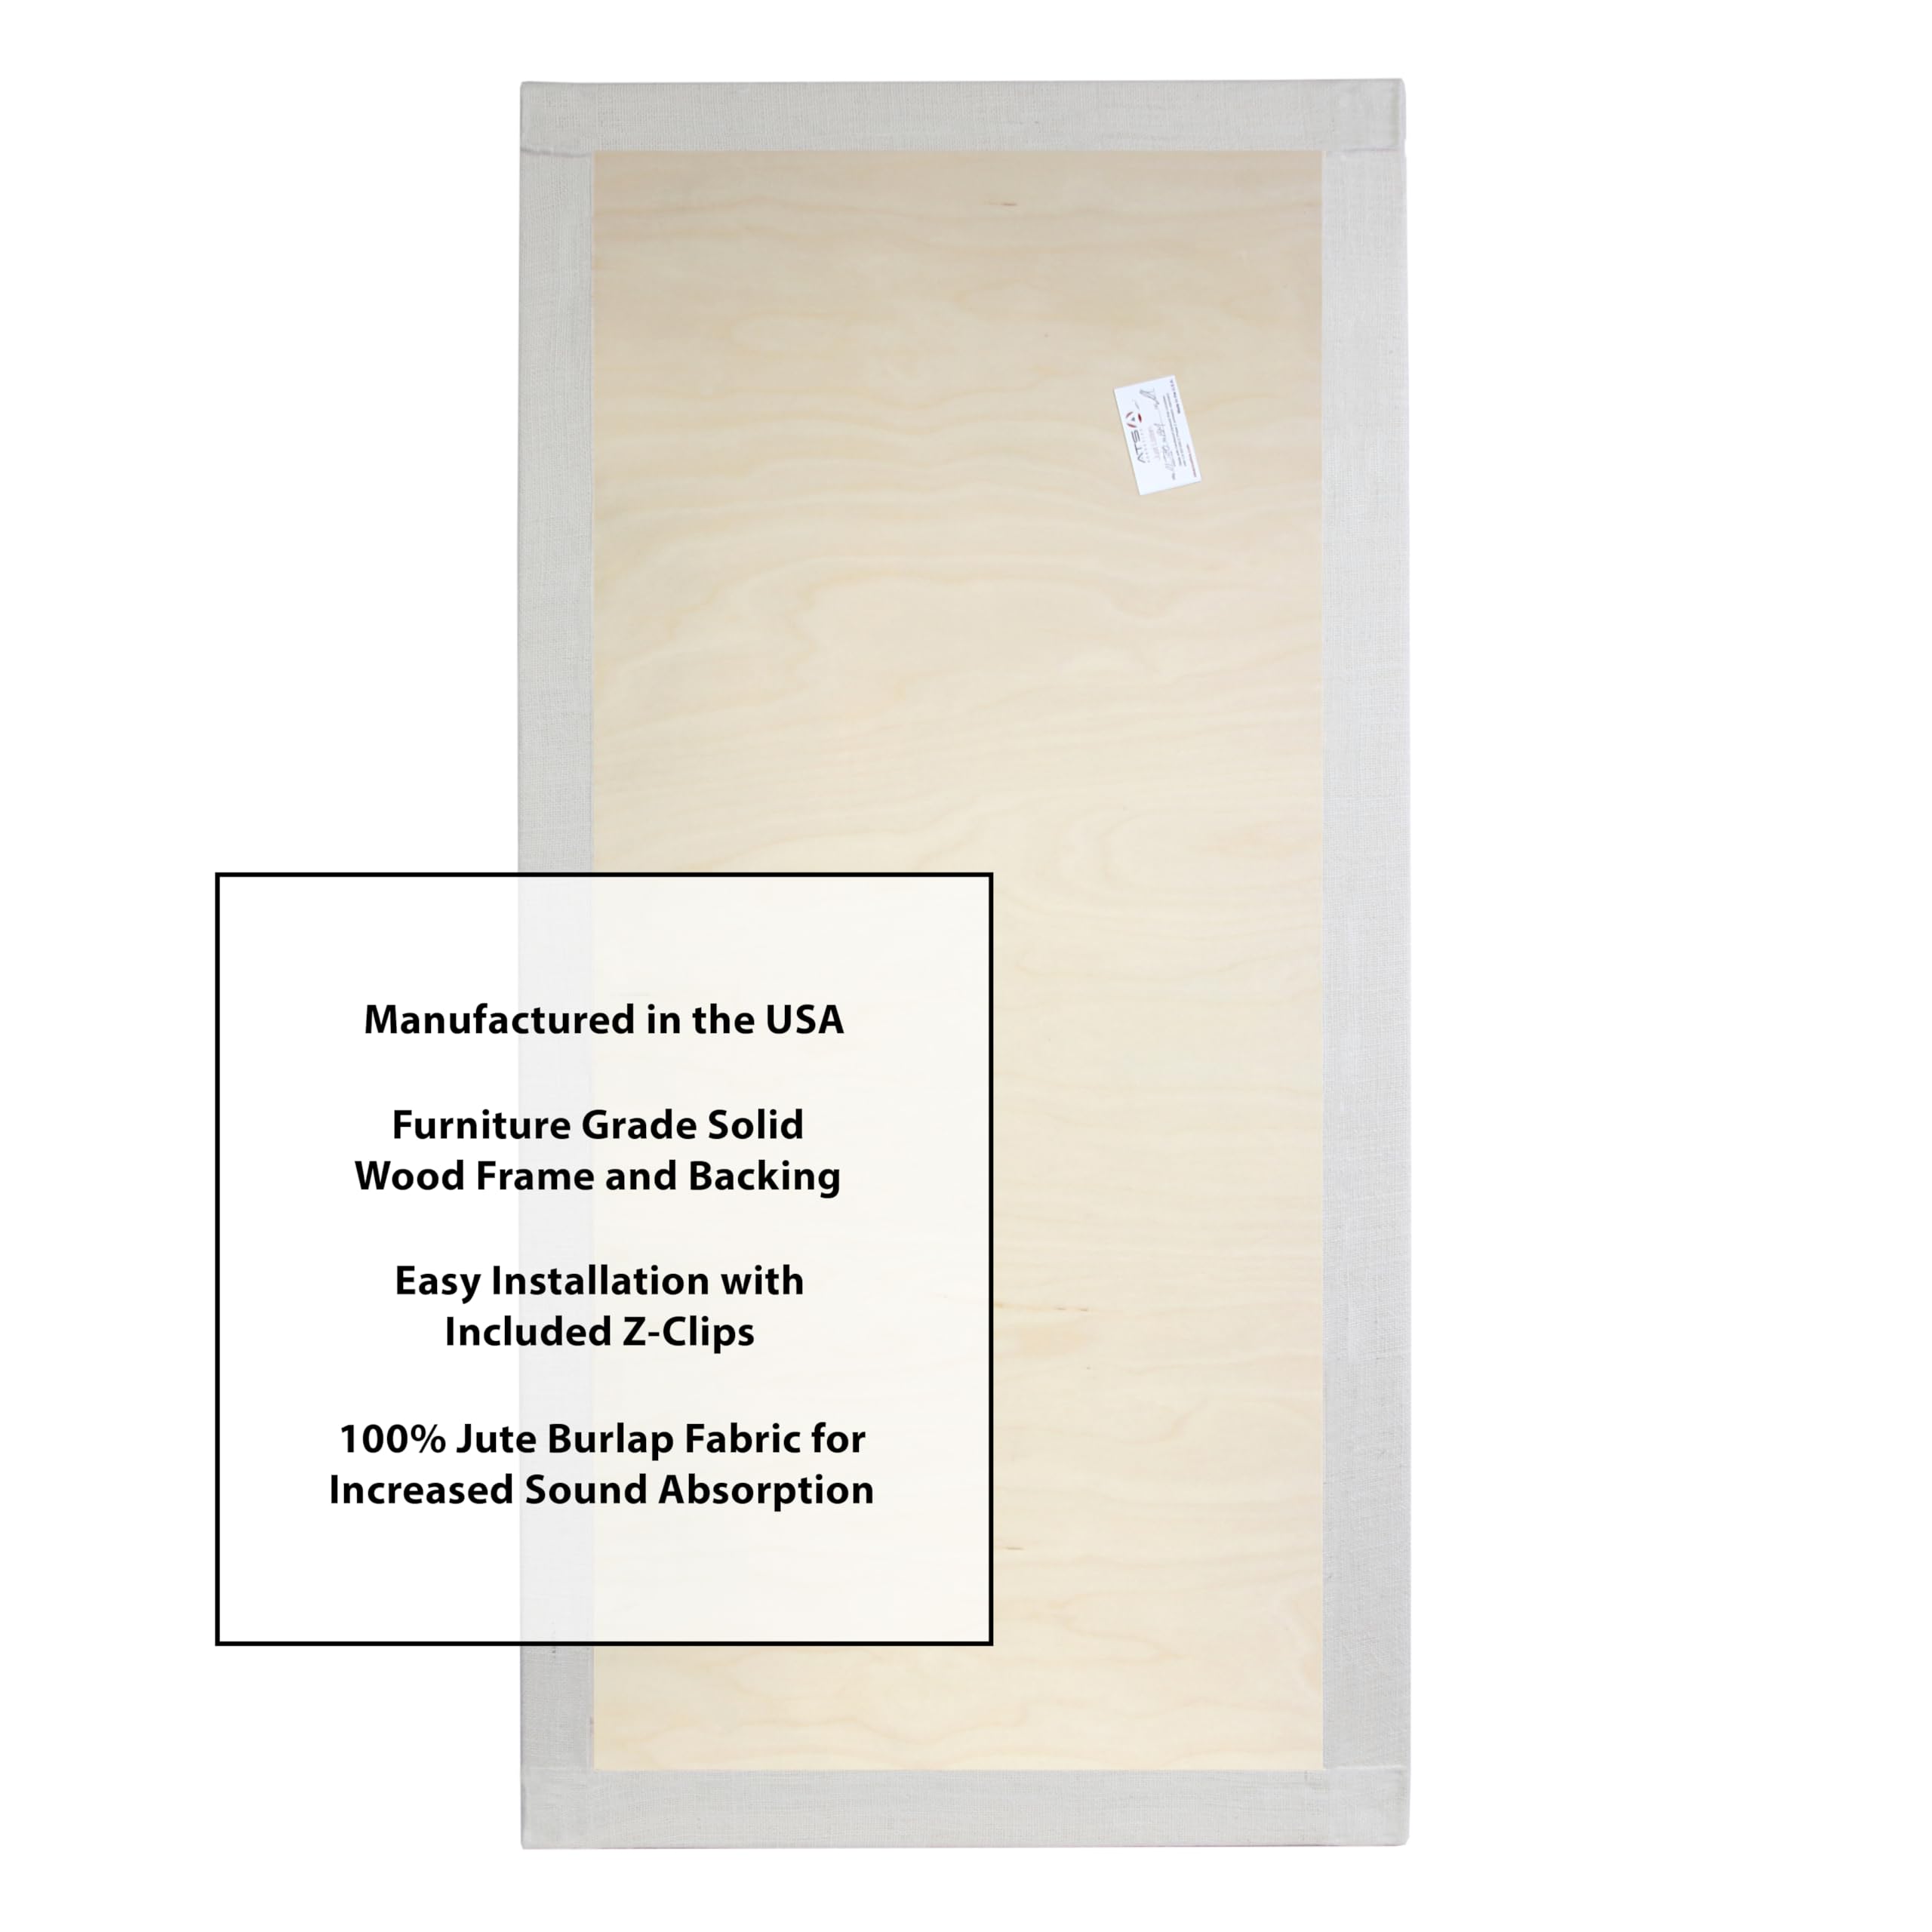
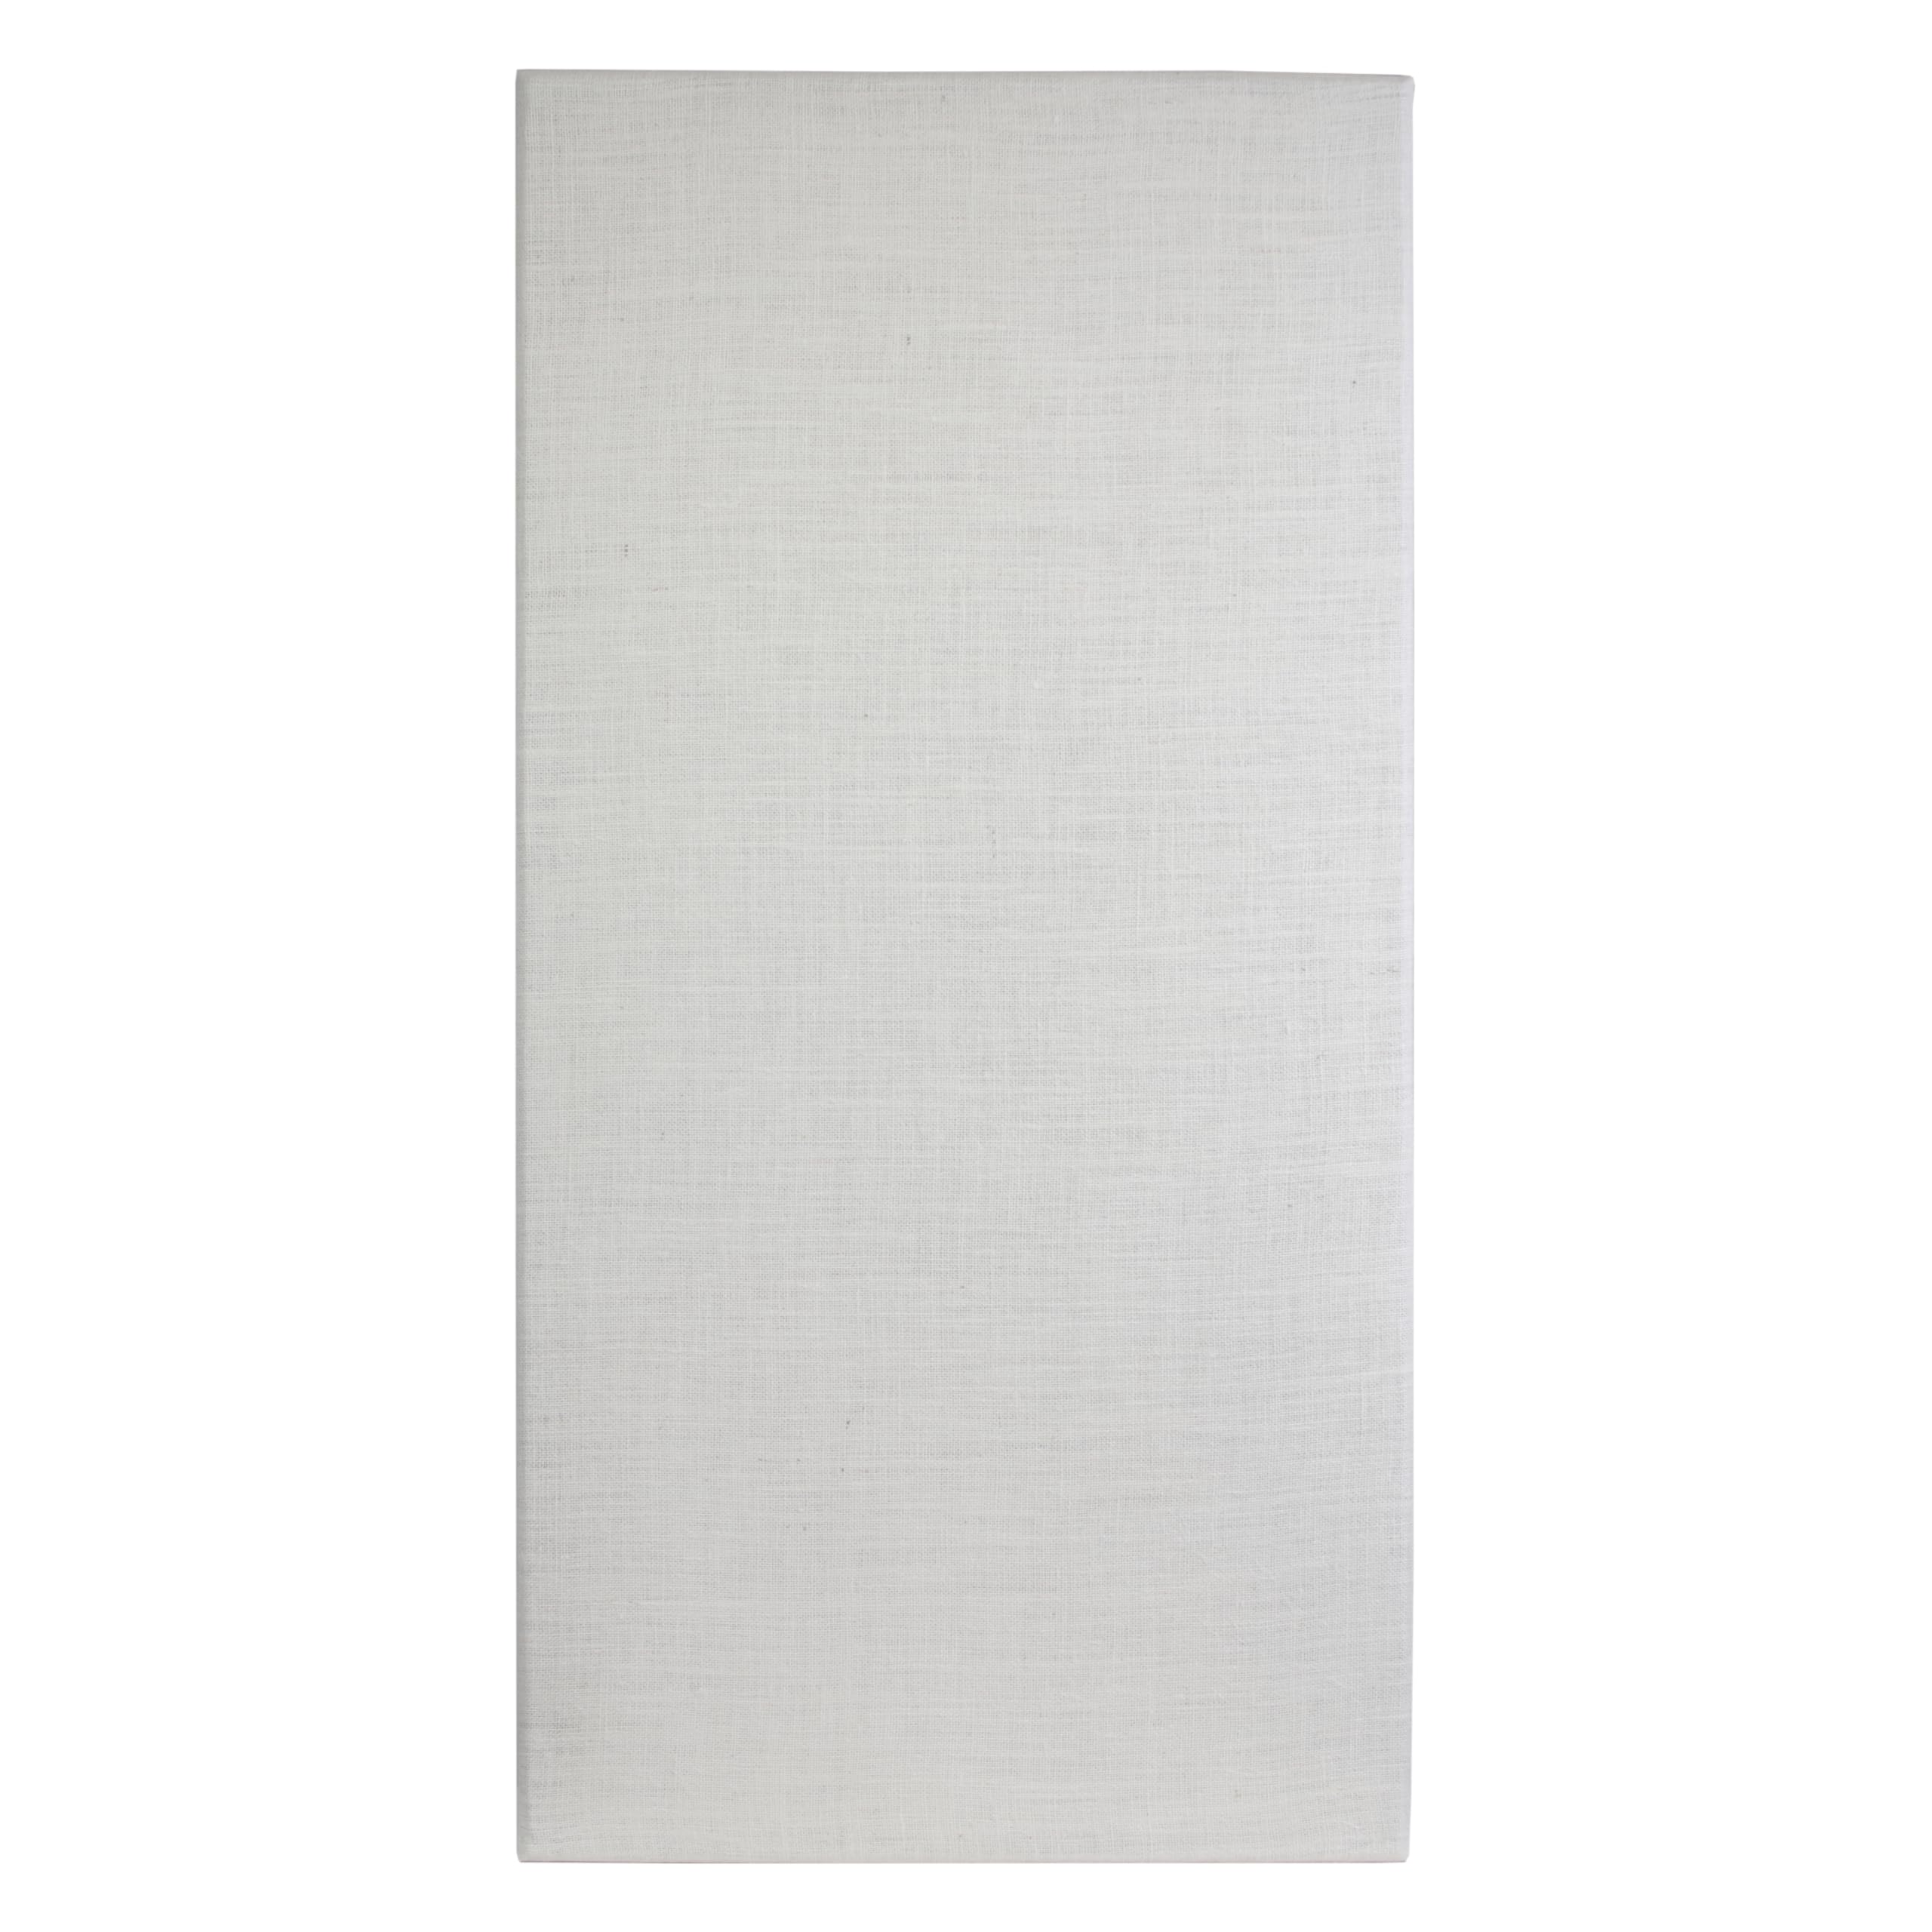
The ATS Acoustic Panel (24x48x2 inches) is a premium sound absorption solution featuring a high NRC rating of 1.0, a durable wooden frame, and an elegant 100% jute fabric cover. Designed for studios, home theaters, and professional environments, it effectively controls reverberations and echoes while enhancing room aesthetics. Handcrafted in the USA, it offers easy installation with included hardware and is trusted by audio professionals seeking superior acoustic clarity.
| ASIN | B002WLB0RW |
| Are Batteries Included | No |
| Brand | ATS Acoustics |
| Color | Ivory |
| Customer Reviews | 4.4 4.4 out of 5 stars (249) |
| Date First Available | September 10, 2016 |
| Item Weight | 3.74 Kilograms |
| Material | Wood |
| Model Number | 4334435675 |
| Product Dimensions | 60.96 x 5.08 x 121.92 cm; 3.74 kg |
L**I
I used these as clouds in my recording studio's control room. They look great and sound great. I bought four and it came with "Z clip" hardware which worked great for mounting to the wall. I used simple ceiling hooks and screwed them into the back, and wired them to the ceiling. Very easy to install. These are light so they are easy to hold up and wire to the hooks in the ceiling. Definitely improvement in neutralizing early reflections and controlling bass build up in the control room. As always, you need to consider the placement for these to maximize acoustic control. Would purchase again.
A**F
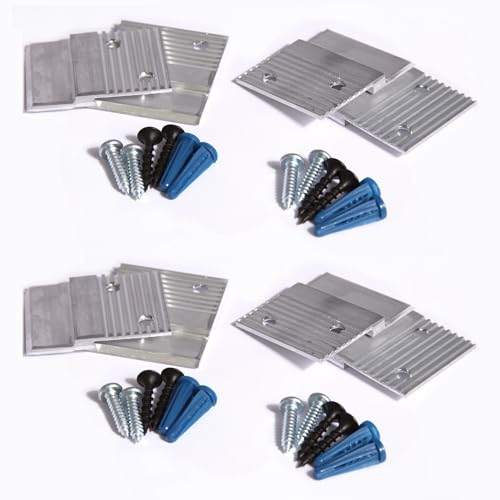
I was looking at these panels to provide acoustic absorption on my ceiling. I had already installed acoustic foam around the walls of my studio, and this appeared to be ideal for my ceiling space and "complete" the room. When I first received the panels I was a bit concerned with how heavy they were (24x48x2 inch panels). They actually weighed more than I expected. Granted: they are not super heavy for what they are, but when you are thinking of mounting these on the ceiling, you want to ensure they are not going to come down on top of you. The included Z clamps are NOT meant for ceiling installation (wall installation only) so I had to devise a solution that was going to secure them to the ceiling safely. I tried to research online the best way to do it which was also not terribly complicated (I am handy, but I would not write home about it). Unfortunately, nothing really suited my scenario. So I devised my own method of getting these panels ceiling mounted (with images included)... First Step: You want to buy two things. A set of 4 D hooks per panel (often used for picture / artwork frame installations), and ceiling anchor hooks (also 4 per panel). Both should be available at your local hardware store or warehouse. You will need 4 D hooks and 4 anchors per frame for a even installation and to distribute the weight. Second Step: You need to screw the D hooks into the back of the panels near to the corners. Go as close as possible to the edge of the panels / frame as this is where it will be thickest. Remember, the backs of these panels are simple sheets of project board nailed onto a thicker wood frame. The frame is what you want to screw into, not the board. Also make sure to not screw in the D hooks over where the fabric folds more than once. Third Step: Once you have mounted all 4 D hooks to the panels, you need to measure up where you want the panel to go on the ceiling. You will need someone to help you with this. Basically, do the math. Measure up the room and draw a diagram. Then you can use that diagram to determine where the board is going to be placed and give yourself a rough outline of where the hooks need to go. Remember: you only really need to focus on the first hook, because once that is up, it will act as a reference point for all the other hooks. You then drill your hole for the anchor hook, insert the anchor plug and screw the hook in place. Be sure to screw the hook a little tighter than what you would ordinarily feel comfortable with, as it is essential the anchor has fully "taken" to the ceiling. Once this first hook is up, you can simply measure the 4 D hook positions on the back of your panel to determine the positions of the other hooks relative to the first hook. Make sure you a constantly measuring from the wall as a second reference point to ensure things are straight. Last Step: With all four anchor hooks in place, simply lift up your panel and connect the anchor hooks to the D hooks and let it hang! This is where you may also need some help. I installed 3 of these panels on my ceiling and they do a phenomenal job reducing sound reflections providing excellent absorption! The room tone changed quite dramatically after they went up, and on top of the performance, the ivory color complimented the room perfectly! I can imagine the other colors will serve other rooms well. Overall, despite being a somewhat unique installation, it worked out perfectly and I couldn't be happier with the results!
J**S
These are excellent. the sound dampening on these panels are very affective in my music studio and are far better than the foam panels and tiles. I only unsalted two of these so far and noticed a 50% echo dampening. I am ordering three more and I think that would be perfect. The only reason why I’m not gonna give five-star is because the material cloth used seems a bit cheap. It would be nice if they could offer different color options as well. Other than that I will definitely be buying more of these panels to treat different parts of my home.
S**A
We ordered six panels to help quiet the bouncy sound in the vaulted-ceiling great room of our home. The panels were hung this morning. They look good and have made a definite improvement in the sound. We are very pleased!
S**N
I wanted to add some acoustic panels to my home theater because the comb filtering was horrible. These panels (Ivory) look really nice and dampen high mid to 20k. These are two inch with a thin wood backing. They are not rigid fiberglass, but filled with batting. (I own a recording studio and have both batted and rigid panels, both are very effective.) The panels come with Z clips for wall installation, but will require some work if you want to hang them from the ceiling. I cut 40" x 18" 3/8 plywood and attached a sheet to the back of each panel using construction adhesive (liquid nails in 1/4 inch bead zig-zag pattern) and two consecutive rings of screws. These are in turn bolted to the ceiling truss that I built in my garage. Very effective, very cool.
Trustpilot
2 weeks ago
2 weeks ago